
Why I Make My Own Elderberry Honey Lollipops
I've been making these for years now, you really can turn almost anything into candy. This one's a favorite because it feels like a genuine treat and still does something good for you.
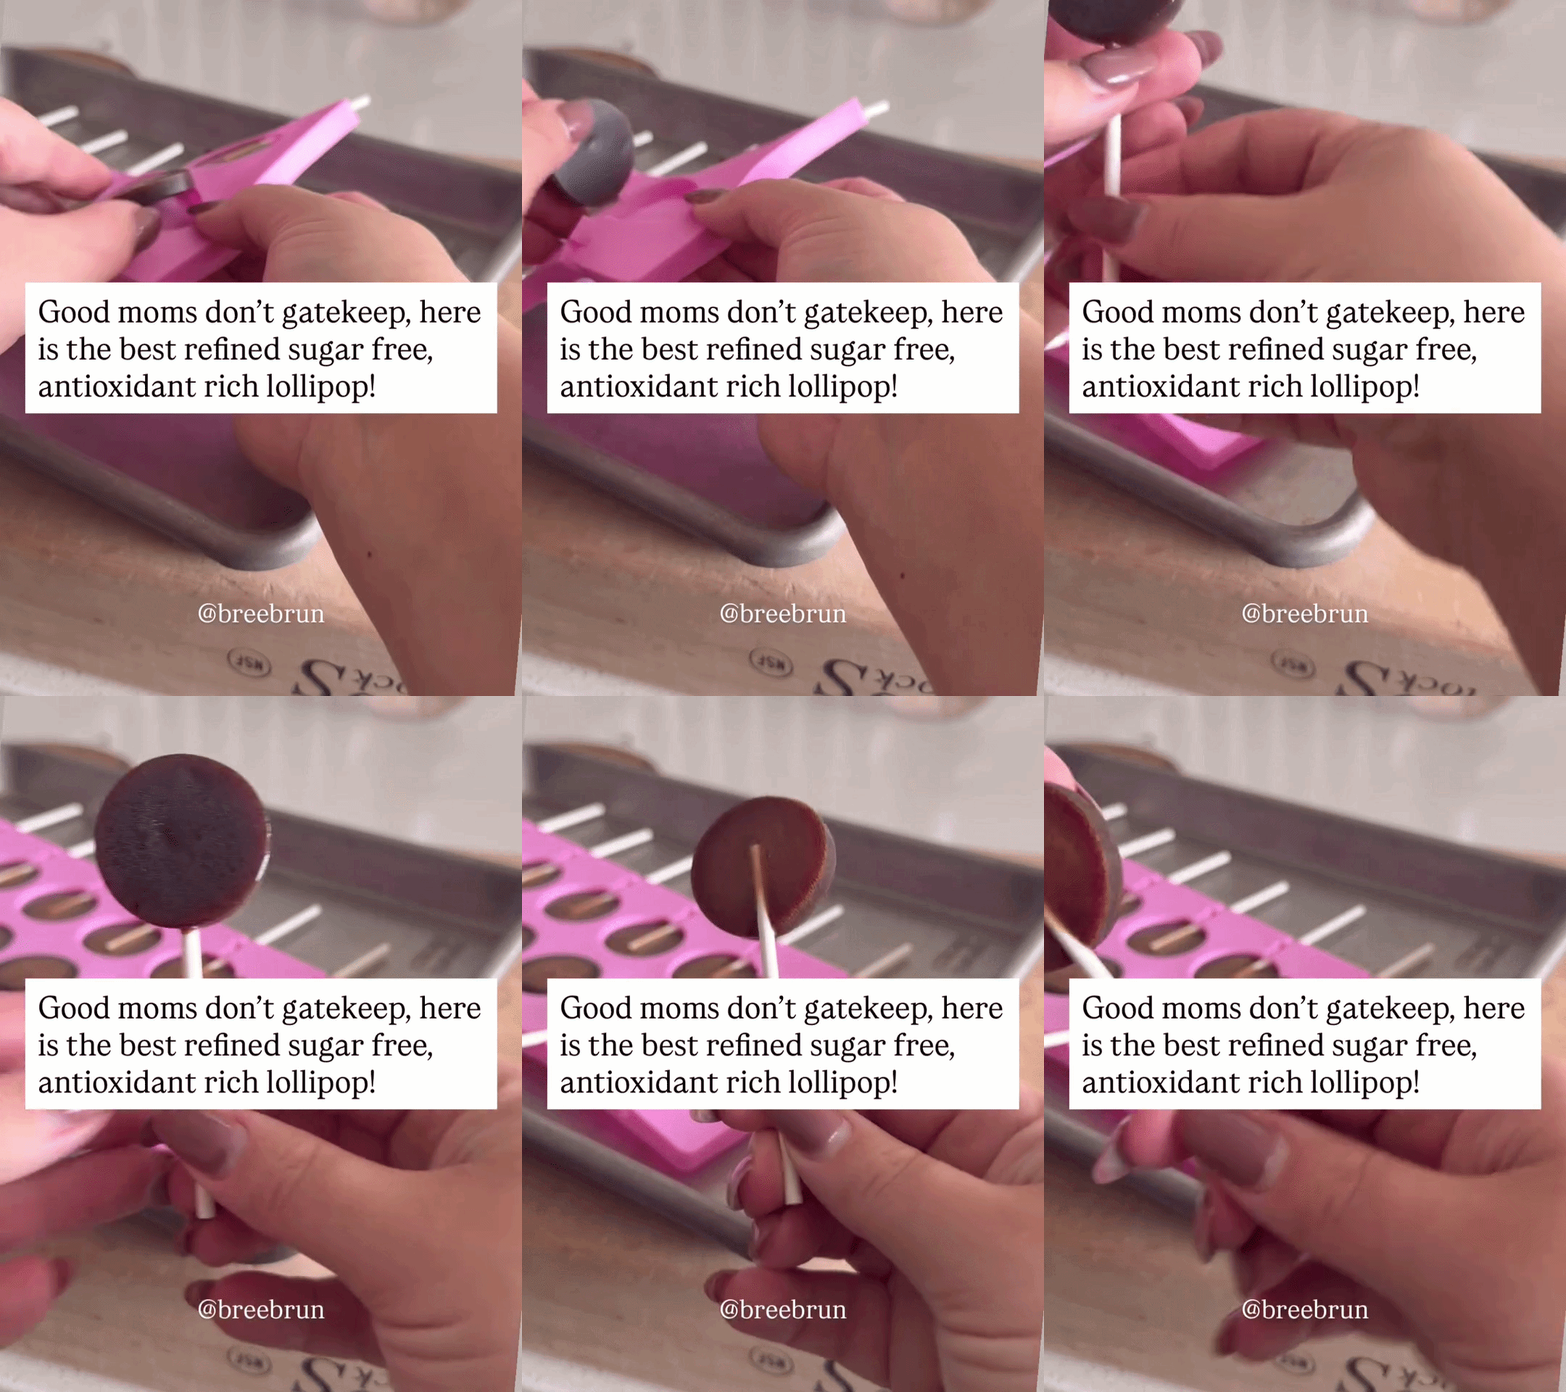
When I realized how easy it was to make our own lollipops without refined sugar or artificial dyes, there was no going back. This recipe has been a staple in our home for years, and it's one of my absolute favorites to share with you.
Where did this recipe come from?
I use Wellness Mama's elderberry syrup recipe from years back, just leaving out the honey in that original recipe since we're adding our own here. If that feels like too many steps, a premade elderberry syrup works too, just make sure it's sugar-free.
One thing you'll want before you start: a proper lollipop mold. I use this silicone lollipop mold kit (with the sticks included) so you're not scrambling to find something that works once the candy's already hot and ready to pour.
What do you need?
1 cup elderberry syrup (no added sugar)
1 cup honey
If your elderberry syrup already contains honey, that's fine, it just may not need as long to boil down.
Is there a catch with using honey instead of cane sugar?
A small one. Hard candies can be a little finicky when you're not using cane sugar, so using only honey may result in a slightly softer lollipop after it's been in your mouth for a bit. Still worth it in my opinion.
There's also a bit of honey science worth knowing here: traditional honey loses its therapeutic benefits once heated. Manuka honey holds up better under heat, so choose based on what matters most to you. Either way, elderberries are rich in antioxidants, so this ends up being a treat I feel genuinely good about.
How do you make them?
Combine the honey and elderberry syrup in a large saucepan and heat gently.
Insert a candy thermometer and watch closely. This gets extremely hot, so keep kids out of the area while you work.
The mixture will start to bubble. Stir until it reaches 250°F, then let it boil to 300°F without stirring.
Once it hits 300°F, remove from heat and let it sit for 1 minute until the bubbles settle.
Pour into your candy molds and let sit for 1 to 2 hours to harden.
Any tips before you start?
Wrap them in small parchment squares or dust with powdered sugar to keep them from sticking together. Store in an airtight container. And a candy thermometer is non-negotiable here, don't eyeball the temperature on this one.
If you like recipes that turn real, whole-food ingredients into something people actually want to eat, I wrote about my go-to baked beans recipe, sugar included, worth a read if this kind of thing interests you as much as it interests me.
Thanks for being here, friends!